INTEX INTEX

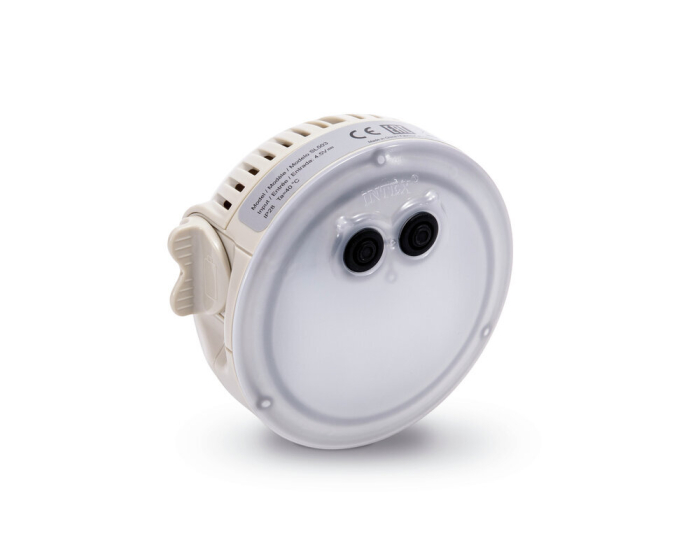
LED light PureSpa

128503
Art.
  • Suitable for all Pure Spa Bubble
  • Illuminates up to 5 different colours
  • 2-hour auto shut-off

Sold Out

The selected product is currently not available. As soon as the product is on stock, we will send you an E-mail.
€27.90
incl. VAT, excl. shipping
In stock

Only items left in stock

Product information

Multi-colored battery operated LED light for Pure Spa Bubble creates the perfect mood and ambience while you relax. Easily mounted on the pool inlet fitting. Two different lighting modes.

Lighting type: LED
Dimension: Ø 12 x 11 x 6 cm
Power supply: Flow dynamo
Lamp wattage: 1 W
Light color: blue,green,purple,white
Automatic power off mode after 2 hours
Battery required: yes
Battery included: no
Battery quantity: 3
Battery type: AAA-Micro

Two different lighting modes:
Modes 1: color changing (green, light blue, dark blue, purple).
Modes 2: lights up in the selected color (white, green, light blue, dark blue, purple)
Suitable for all PureSpa Bubble models

02 Battery housing for 128503
€5.99
incl. VAT, excl. shipping
03 Whirlpool LED light
€25.90
incl. VAT, excl. shipping

FAQs from category Whirlpool accessories:

Whirlpools must be placed outdoors on a level location. The area must be free of branches, stones, sharp and pointed objects. The location must be stable and weight-resistant (not on a balcony or terrace). Before setting up, double check that the whirlpool will stand on a completely flat, level surface, as otherwise the connections may not seal 100%.

1. Turn off the spa control unit.

2. Connect the drain valve adapter to a garden hose. Place the other end of the garden hose in a suitable place for water disposal.

3. Remove the cap from the outer drain valve and attach the drain valve adapter to the drain valve.

4. Open the cover for the drain valve inside the whirlpool tub. The water begins to flow out through the garden hose.

5. When the water has drained out, disconnect the whirlpool control unit from the wall of the whirlpool tub. Lift the whirlpool tub wall on the opposite side from the drain to direct any remaining water down the drain and allow you to completely drain the whirlpool.

6. Attach the filling hose to the air blower valve on the control unit.

7. Turn on the whirlpool and press the button. Align the filling hose with the inlet/outlet of the spa pool and the spa control unit so that the water in the pipes dries out.

8. Use a clean towel to soak up the remaining water and moisture from spa and control unit.

9. When the whirlpool is empty, remove the filter housing from inside the spa and clean or replace the filter cartridge. Only use commercially available bathroom cleaners for cleaning. Rinse the whirlpool well with clear tap water.

10. Make sure that the control unit and the spa tub are thoroughly dry.

11. After the spa is completely dry, vacuum out any remaining air. Note that some air still remains in the tub. The tub should not be completely "evacuated" so that the air and jet lines are not compressed.

12. Fold the whirlpool loosely and avoid sharp corners to prevent damage. Packing into the bag may require 2-3 people.

NOTE: The included caps can be used to cover the water inlet and outlet fittings inside the spa. This prevents water from flowing out.

The whirlpool models from 2020 cannot be retrofitted with WLAN. The complete control unit and the display would have to be replaced with the components from 2021. The outdoor whirlpool models from 2021 are WLAN-capable.

All INTEX whirlpool models should never be inflated with external compressors or pumps. Please only use the control unit supplied for this purpose. Please also note the information in the operating instructions of the respective product.

The outdoor whirlpools are not winterproof. In areas where there is a risk of frost, the spa and all associated components should be drained, cleaned, disassembled and correctly stored indoors if the temperature drops below 5°C.

Symbol photos

The pictures shown are just for reference, the actual product may differ.